
Installation
Prerequisites
- Node.js version
20.15or higher. - NPM version
10.9or higher.
When creating a new project, the recommended way to get started is by scaffolding it with Vite. Once it is created, or if you already have an existing one, UWAL can be installed with any of the following commands from your terminal:
> npm add uwal> yarn add uwal> pnpm add uwal> bun add uwal> deno add uwalQuick Start
To check the installation was successful, let's walkthrough a basic WebGPU program. Copy and paste the following code in the main JavaScript/TypeScript file to create a full-screen gradient like the one on the image below. The example includes some explanatory comments on what is happening on every line.
Preview
// Import the WebGPU renderer from UWAL and rename it to
// `RenderStage` to use the `Renderer` variable locally.
import { Renderer as RenderStage } from "uwal/core";
// Import a utility shader to fill the canvas.
import { Fullscreen } from "uwal/shaders";

// Create a simple WGSL shader to output canvas coordinates as a
// linear gradient from the bottom-left to the top-right corner.
const Gradient = /* wgsl */`
struct VertexOutput
{
    @location(0) texCoord: vec2f,      // Gradient coordinates
    @builtin(position) position: vec4f // Vertex position
};

// Vertex shader code; the function name "vertex"
// is the default one when creating a render pipeline.
@vertex fn vertex(@builtin(vertex_index) index: u32) -> VertexOutput
{
    // This function is part of the included "Fullscreen" shader.
    // It converts a vertex index to a coordinate of a very
    // large triangle that's covering the whole canvas.
    let coord = GetFullTriCoord(index);

    return VertexOutput(
        // Another function from the "Fullscreen" shader.
        // It converts vertex coordinates so the origin shifts
        // from the center to the bottom-left corner of the canvas.
        GetFullTexCoord(coord), // Normalized vertex coordinates
        vec4f(coord, 0, 1)      // Clip space coordinates
    );
}

// Fragment shader code; the function name "fragment"
// is the default one when creating a render pipeline.
@fragment fn fragment(@location(0) texCoord: vec2f) -> @location(0) vec4f
{
    // Output the current pixel color.
    return vec4f(texCoord, 0, 1);
}`;

// Create a `canvas` element and add it to the <body>.
const canvas = document.createElement("canvas");
document.documentElement.appendChild(canvas);

// Create a new WebGPU renderer using the canvas above.
const Renderer = new (await RenderStage(canvas));

// Create a new render pipeline using two shaders and
// automatically add it to the renderer for it to use.
const RenderPipeline = await Renderer.CreatePipeline([
    Fullscreen, Gradient
]);

// Set the `canvas` element to the full size of the page.
Renderer.SetCanvasSize(innerWidth, innerHeight);
// Set the amount of vertices to draw.
RenderPipeline.SetDrawParams(3);
// Issue a draw call.
Renderer.Render();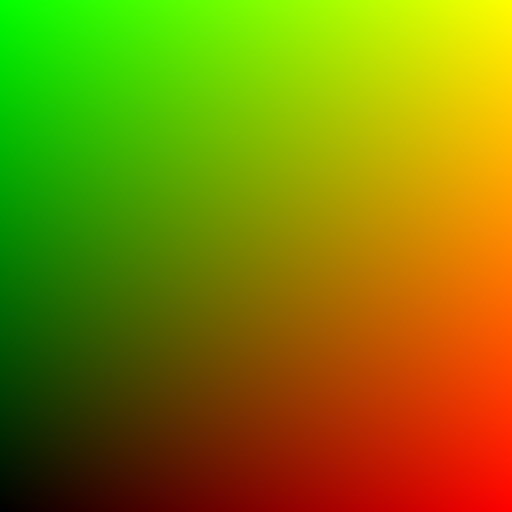
For a more complete example showing also how to use uniforms in a similar program, feel free to check the Screen Shader example and its source code.
TIP:
When working on more complex applications, adding vite-plugin-glsl as a dev dependency to your project might be a good idea since it allows you to import common chunks into your main shader files and discard the ?raw suffix when importing shaders from external source files.